
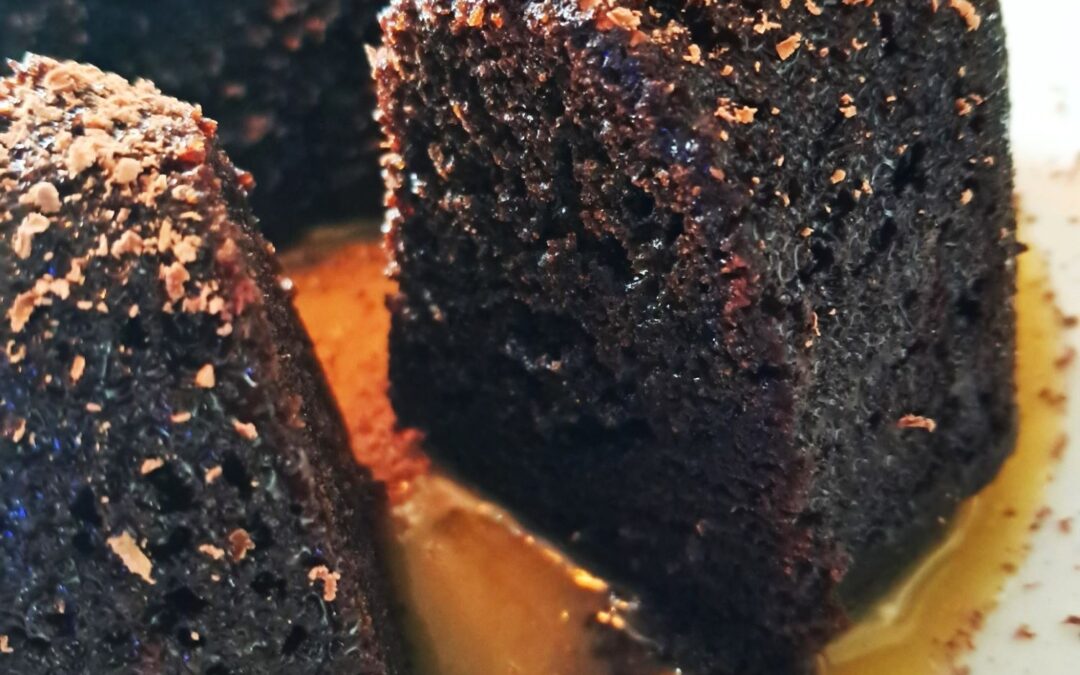

Moist Gluten-Free Chocolate Bundt Cake
Travel back to earlier times with this fudgy old-fashioned gluten-free chocolate bundt cake
Ingredients:
Bundt Cake
2 cups gluten free all purpose flour
1 ½ cups granulated sugar
3 tbsp Treacle or blackstrap molasses
½ cup unsweetened cocoa powder
3.4 ounce dry instant chocolate pudding mix, read label for gluten free
1 teaspoon baking powder
¼ teaspoon baking soda
½ teaspoon salt
¾ cup sour cream
⅓ cup oil, any preferred
1 teaspoon vanilla extract
⅓ cup hot water
1 cup miniature semi-sweet chocolate chips or shaved chocolate

Caramel Sauce:
1 cup granulated sugar
1/4 cup water
6 tablespoons unsalted butter, cut into pieces
1/2 cup heavy cream
1 teaspoon vanilla
pinch of salt

Make it:
- Preheat the oven to 350°F. Grease a nonstick 12-cup bundt cake pan and set aside.
- In a large mixing bowl combine flour, unsweetened cocoa, sugar, pudding mix, baking powder, baking soda, and salt. Mix on low to combine.
(2 cups gluten free all purpose flour, 1 ½ cups granulated sugar, ½ cup unsweetened cocoa powder, 3.4 ounce dry instant chocolate pudding mix, 1 teaspoon baking powder, ¼ teaspoon baking soda, ½ teaspoon salt)
- Add the eggs, sour cream, oil, and vanilla extract. Mix on low speed until all the ingredients are combined. The batter will be very thick.
(3 large eggs, ¾ cup sour cream, ⅓ cup oil, 1 teaspoon vanilla extract)
- Gradually pour in the hot water while continuing to mix. Increase speed to medium and beat for 1 minute. The mixture will be the consistency of brownie batter. Mix in chocolate chips on low speed.
(⅓ cup hot water, 1 cup miniature semi-sweet chocolate chips)
- Spread evenly in the prepared bundt cake pan. Bake on the middle rack for 55-60 minutes, or until a long cake tester comes out clean.
- Cool on wire rack for 10 minutes before inverting out of the pan and cool for at least 1 hour before drizzling caramel sauce over.
Notes:
Store leftovers, well covered, at room temperature up to two days. Gluten-free baking recipes tend to have a shorter shelf-life since the flour doesn’t absorb moisture as readily. Freeze any leftovers not consumed in a day or two.
To freeze the entire cake after frosting, place it on a baking sheet and freeze until the frosting is solid and hard to the touch. Then securely wrap the cake in several layers of plastic wrap, again in foil, and freeze up to 3 months.
Freeze leftover cake slices by wrapping in plastic wrap first. Transfer slices to a ziplock freezer bag. Thaw overnight in the refrigerator before enjoying.
Caramel Sauce:
It is important to use either a wooden spoon or a heat-resistant silicone spoon to make the sauce.
Do not step away from the stove while the caramel is cooking. This sauce is super easy, but it can take anywhere from 8-15 minutes to thicken and turn that gorgeous dark gold colour.
- Add the sugar and water to a 3-quart heavy bottomed pot; stir just slightly so it’s combined and sits in a flat even layer, and try to avoid it going up the sides of the pot.
- Warm pot over medium heat and cook until the sugar dissolves, turns from cloudy to clear, and starts to bubble – this can take a few minutes. (At this point, do not stir again – si mply allow to bubble and cook – and keep your heat at medium.)
- If the sugar forms clumps around the perimeter of the pot, using a spatula, you can gently brush down the sides occasionally, to prevent crystallization. But just continue cooking, without stirring, until the mixture thickens and turns a deep gold colour like honey (this can take anywhere from 8-15 minutes), keeping a watchful eye so the mixture doesn’t burn. SEE NOTE BELOW.
- Carefully add the butter and whisk until completely melted. (The caramel will bubble up rapidly, so be careful and continue to whisk.)
- Remove the pot from the heat. Slowly pour in the heavy cream, whisking continuously until all the cream has been incorporated.
- Whisk in the vanilla and salt.
- Set aside to cool in the pot for 10 minutes.
- Then pour into a lidded glass jar and allow to cool completely. (The caramel will be liquid at first but will thicken up and solidify into a chewy texture as it cools.) Once it’s completely cooled, it needs to be stored in the fridge because of the dairy. Reheat to use again as it will solidify in the fridge.